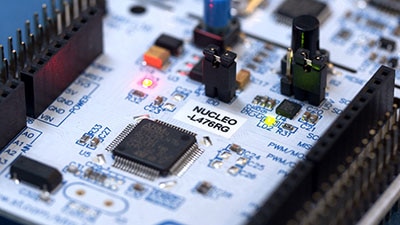
制造商零件编号 STM32MP157D-DK1
DISCOVERY STM32MP157D EVAL BRD
STMicroelectronics
License: Attribution Single Board Computers
Linux is a very popular operating system for embedded devices, as it allows you to run on powerful microprocessors, reuse code and drivers written by others, and run multiple processes at the same time (e.g. networking and user interface).
In this series, we will cover the basics of getting started with embedded Linux. Note that embedded Linux can be a very deep and complex topic, so we will demonstrate a few concepts that you should be familiar with in order to enter that world. As such, this is not supposed to be a comprehensive course on embedded Linux.
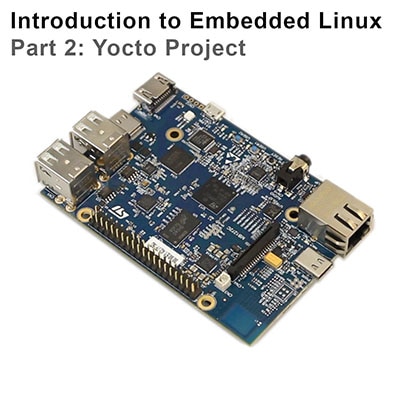
For this tutorial, we will show you how to build a quick Linux image using Buildroot. See here if you would like to watch this demonstration in video format:
Required Hardware
I will try to explain what is happening at each step in these tutorials so that you can generalize the instructions to almost any single board computer (assuming the board is supported by the build system). However, for the demonstration, I will be using the following platform:
You will also need an SD card. The STM32MP157D-DK1 kit should come with an SD card. In addition, you will need a USB-C power supply capable of supplying 5V, 3A.
Required Software
You will need Linux for this project, as all of the tools we are using must be run in Linux. I will show steps that work in Ubuntu and Linux Mint (and likely other flavors of Debian), but you can probably get almost any Linux distro to work. LiveCD, dual-booting, Windows Subsystem for Linux (WSL), and pre-made Docker images will also likely work.
I also recommend using a fairly modern computer with at least 4GB of RAM. While you can probably build a Linux image in a Rasbperry Pi, expect it to take a very long time.
Creating a Custom Linux Distro
If you have used a single board computer (e.g. Raspberry Pi), you are probably familiar with the easiest method of loading an operating system onto the board: you download a pre-made image (usually a .img file) from the Internet and copy it to an SD card.
In this series, we will go over the steps required to create such an image. This allows you to customize the Linux distribution to your exact needs (such as disabling a user interface and enabling networking). This customized distro can reduce boot time, save on power, and reduce possible attack vectors for hackers. You can then copy the image to your entire production line of single board computers or systems on a module (SOMs) during manufacturing.
One option for creating such a customized distro includes finding or writing the necessary drivers and libraries yourself, compiling them, and creating an image. This is a difficult and time-consuming task.
The final option is to use a tool like Buildroot, OpenWRT, or the Yocto Project to help script the entire process of finding the required source code and building an image. These are likely the three most popular embedded Linux build tools:
Buildroot: focused on ease-of-use, but you lose out on some customization options. You also have to build the image from scratch every time you make a change.
OpenWRT: focused on creating Linux images for networking devices (e.g. routers). As a result, it can be difficult to build generic Linux images.
Yocto Project: powerful tool for building customized Linux images, but it has a steep learning curve.
In this tutorial, I’ll show you how to make a quick image for the STM32MP157D-DK1 using Buildroot. In the following tutorials, we’ll switch to the Yocto Project so you can see how to customize your build.
Install Buildroot
You will need to install a number of packages on your host LInux computer. The Buildroot manual gives you a list of dependencies (in case your particular flavor of Linux does not come with them installed).
sudo apt update
sudo apt upgrade
sudo apt install -y git build-essential libncurses5-dev
Next, we need to clone the Buildroot repository:
cd ~
mkdir Projects
cd Projects
git clone git://git.buildroot.net/buildroot
cd buildroot
Build Embedded Linux Image
You can view the boards that are supported by default in Buildroot:
ls configs
If you can’t find your particular board, you will likely need to find a Buildroot defconfig file on the Internet or write your own (which we won’t get into). We don’t have an stm32mp157d-dk1 defconfig file available, but we can use the ‘a’ version (it just runs at a slower clock speed). Set up the configuration for your board with:
make stm32mp157a_dk1_defconfig
You can adjust kernel and default package options with the following:
make menuconfig
We won’t make any changes, so just exit out of the config menu. To build the image, enter:
make
Wait a while (this might take several hours). When it’s done, you can check the output:
ls -la output/images
You can copy boot and rootfs to a formatted SD card or USB stick. However, I find that it’s easier to copy the .img file to the raw SD card.
Copy Image to SD Card
Insert a microSD card into an SD card reader connected to your host computer. Figure out the SD card name with the following:
lsblk
The SD card location for me was /dev/mmcblk2 (yours might be different). So, when you see “mmcblk2” in my commands, make sure to change that to your particular drive. Note that we are not using any partitions--we will overwrite them, so make sure you don’t have any data you want on the SD card!
Unmount any pre-existing partitions. For example, here is how I would unmount them on my computer (change the username and partition, as necessary):
sudo umount /media/sgmustadio/boot
sudo umount /media/sgmustadio/rootfs
Then, copy the .img file to the raw SD card:
sudo dd if=/output/images/sdcard.img of=/dev/mmcblk2 bs=1M
Unmount any partitions that might be mounted, and remove the SD card from your host computer. Plug it into the single board computer.
Boot!
On the STM32MP157D-DK1, you need to make sure that SW1 BOOT0 and BOOT2 switches are set to the ON position to tell the processor to boot from the SD card.
Almost every single board computer will give you access to a serial console, which uses a UART (or USART) port to communicate. On the STM32MP157D-DK1, this serial console is mapped to UART4 by default. UART4 is connected to the ST-LINK debugger chip on the development board, which also handles serial-to-USB translation.
If you do not have a similar onboard serial-to-USB translator, you will need to use something like this to connect the correct UART pins to your host computer.
On the STM32MP157D-DK1, connect a USB micro cable between ST-LINK CN1 and your host computer. This will give us access to a serial terminal on the board.
Just after plugging in the serial-to-USB translator (or ST-LINK), enter the following on your host computer to figure out where the serial connection is located:
dmesg | tail
For me, the ST-LINK is located at /dev/ttyACM0.
Install a serial terminal program. I like picocom:
sudo apt install -y picocom
Note that you might get a “permission denied” error when using picocom without sudo. To avoid that, you need to add the current user to the “dialout” group:
sudo usermod -a -G dialout $USER
You can check this with:
groups $USER
Connect to the serial port with the following (using the serial port device file you discovered earlier):
picocom -b 115200 /dev/ttyACM0
Connect power to your board. If all goes well, you should be greeted with the boot process and a login prompt!
The default login is “root” and there is no password. Note that this is a very basic Linux image! You can do some things like browse files (ls, cd, mkdir, etc.), edit files with vi, and so on. You will not find things like networking, display drivers, and many libraries available. While you can add those with Buildroot, we’ll be exploring customizing Linux images and developing on embedded Linux in future tutorials.
Recommended Reading
The following material should help you as you continue your embedded Linux journey:
Intro to Embedded Linux Part 4 - Create Custom Layer and Image in Yocto
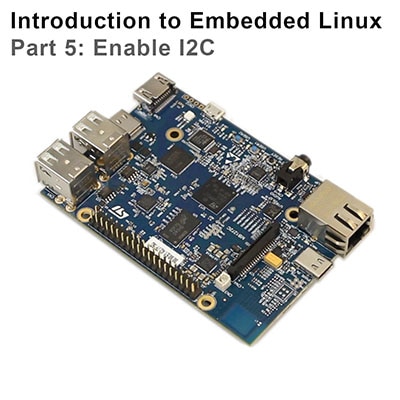
Intro to Embedded Linux Part 5 - How to Enable I2C in the Yocto Project
Intro to Embedded Linux Part 6 - Add Custom Application to Yocto Build
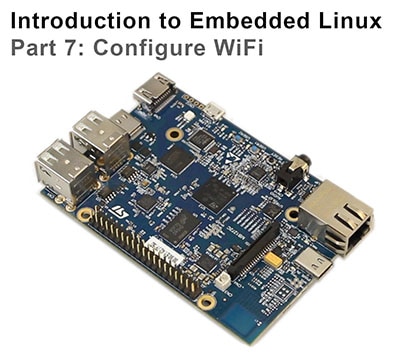
Intro to Embedded Linux Part 7 - Enable WiFi Networking with Yocto