制造商零件编号 STM32MP157D-DK1
DISCOVERY STM32MP157D EVAL BRD
STMicroelectronics
License: Attribution Single Board Computers
In the previous tutorial, we demonstrated how you can create a custom Linux image for a single board computer using Buildroot. This time, we switch to the Yocto Project.
The Yocto Project is a collection of tools and metadata (configuration files) used to generate custom Linux images. It offers more control than Buildroot, but it can be cumbersome to learn and use.
See here if you would like to watch this tutorial in video format:
Required Hardware
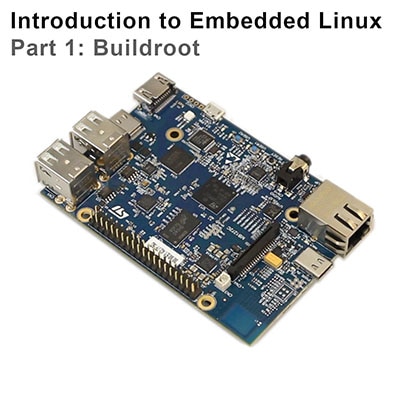
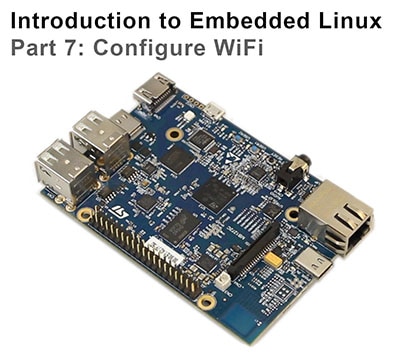
I will try to explain what is happening at each step in these tutorials so that you can generalize the instructions to almost any single board computer (assuming the board is supported by the build system). However, for the demonstration, I will be using the following platform:
You will also need an SD card. The STM32MP157D-DK1 kit should come with an SD card. In addition, you will need a USB-C power supply capable of supplying 5V, 3A.
Required Software
You will need Linux for this project, as all of the tools we are using must be run in Linux. I will show steps that work in Ubuntu and Linux Mint (and likely other flavors of Debian), but you can probably get almost any Linux distro to work. LiveCD, dual-booting, Windows Subsystem for Linux (WSL), and pre-made Docker images will also likely work.
I recommend using one of the distributions listed here, as they are known to work with the Yocto Project.
The Yocto Project requires at least 50 GB of harddrive space to download and build source files.
I also recommend using a fairly modern computer with at least 4GB of RAM. While you can probably build a Linux image in a Raspberry Pi, expect it to take a very long time.
Definitions
Terminology in the Yocto Project can be a little confusing. These definitions should help you along the way:
OpenEmbedded: build system and community
The Yocto Project: umbrella project and community
Metadata: files containing information about how to build an image
Recipe: file with instructions to build one or more packages
Layer: directory containing grouped metadata (start with “meta-”)
Board support package (BSP): layer that defines how to build for board (usually maintained by vendor)
Distribution: specific implementation of Linux (kernel version, rootfs, etc.)
Machine: defines the architecture, pins, buses, BSP, etc.
Image: output of build process (bootable and executable Linux OS)
Install Dependencies
Run the following to install dependencies on your host computer:
sudo apt update
sudo apt upgrade
sudo apt install -y bc build-essential chrpath cpio diffstat gawk git texinfo wget gdisk python3 python3-pip
You will also need the following to build the image for the STMP32MP1:
sudo apt install -y libssl-dev
Because the Yocto Project tools rely on the “python” command, you will likely need to alias “python” to “python3.” Edit your .bashrc file:
vi ~/.bashrc
Scroll to the bottom and add the following to a new line (press ‘a’ to append new text):
alias python=python3
Save and exit (‘esc’ followed by entering “:wq”). Re-run the .bashrc script to update your shell:
source ~/.bashrc
Check your Python version:
python --version
It should say something like “Python 3.8.xxx.”
Donwload Layers
Download the Yocto Project poky reference distribution:
mkdir -p ~/Projects/yocto
cd ~/Projects/yocto
git clone git://git.yoctoproject.org/poky.git
cd poky
You will want your poky layer branch to match the branches of all other third-party layers you download (such as the STM32MP1 BSP). You can view the available poky release names here: https://wiki.yoctoproject.org/wiki/Releases. We’re going to have all layers be on the “dunfell” branch.
git checkout dunfell
Next, you’ll want to download the STM32MP board support package (BSP) as a separate layer:
cd ~/Projects/yocto
git clone git://github.com/STMicroelectronics/meta-st-stm32mp
cd meta-st-stm32mp
git checkout dunfell
We checkout the dunfell branch so that it matches the branch name of the poky layer.
View the readme to see what other layers are needed for this particular BSP:
less README
In there, you can see that we need the meta-openembedded layer. Specifically, we need the meta-oe and meta-python layers in the meta-openembedded layer (I only found this out by looking at the errors reported during the build process).
cd ~/Projects/yocto
git clone git://github.com/openembedded/meta-openembedded.git
cd meta-openembedded
git checkout dunfell
View the readme to see if there are any dependencies we need to download for meta-openembedded:
less README
You should not need to install any other layers to build our initial image for the STM32MP157D-DK1.
Configure Build
We start by creating a build environment (to give us access to tools like “bitbake”). Note that the oe-init-build-env script will create an initial “build-mp1” folder and automatically change directories to it.
cd ~/Projects/yocto
source poky/oe-init-build-env build-mp1
cd build-mp1
You can view the layers that will be included in the build with the following:
bitbake-layers show-layers
You should only have the default poky layers to start. We need to edit bblayers.conf in our build to add the necessary STM32MP BSP and dependency layers:
vi conf/bblayers.conf
Update the BBLAYERS variable to be the following (change <username> to your actual username):
BBLAYERS ?= “ \
  /home/<username>/Projects/yocto/poky/meta \
  /home/<username>/Projects/yocto/poky/meta-poky \
  /home/<username>/Projects/yocto/poky/meta-yocto-bsp \
  /home/<username>/Projects/yocto/meta-openembedded/meta-oe \
  /home/<username>/Projects/yocto/meta-openembedded/meta-python \
  /home/<username>/Projects/yocto/meta-st-stm32mp \
  “
Save and exit. Check the layers again with:
bitbake-layers show-layers
You can view the available machine names and settings in ~/Projects/yocto/meta-st-stm32mp/conf/machine. We’ll use “stm32mp1” for our build. To do this, edit local.conf:
vi conf/local.conf
Change the MACHINE variable to the following (comment out the “qemu” emulator and add “stm32mp1” as the machine):
#MACHINE ??= “qemux86-64”
MACHINE = “stm32mp1”
If you are working with a low-end machine (less than ~4GB of RAM), you might run into this error at the end of the build process:
xz: Memory usage limit is too low for the given filter setup.
xz: 1,250 MiB of memory is required. The limit is 918 MiB
This is because the xz compression tool looks at physical RAM when determining the limit, regardless of any swap partition you might have. If you are working with less than 4 GB of RAM, I recommend setting up a swap partition with 8 GB of RAM. You then need to force xz to see that swap partition by setting its memory limit to be higher. We can pass this argument to xz in local.conf by adding the following line (e.g. after you set the MACHINE variable):
# Configure xz (for low-end host machines with low RAM and lots of swap)
XZ_DEFAULTS = ”--memlimit=1500MiB”
Save and exit.
Configure Kernel
Now that your build system is set up, you can make changes to the kernel. To do that, enter:
bitbake -c menuconfig virtual/kernel
Note that the first time you run bitbake for a particular build, it will take some time parsing all the required metadata. This could take an hour or more, depending on your host computer, so be patient.
After it finishes, you should be presented with a menu:
You can change various kernel settings. However, we will leave everything at their defaults for now, so just select Exit and press ‘enter’.
Build Image
The time has come to actually build your image! We need to choose an image to build. I recommend looking through the available images here that are supported by the default poky installation. You’re welcome to use one of them.
Vendors may also provide additional images. For example, ST maintains OpenSTLinux, which is a separate layer used to build different distributions for ST boards. It contains some libraries like qt, which are great for creating graphical interfaces. However, we won’t need any of those extra packages, so we’ll skip adding the OpenSTLinux layer and just focus on the bare minimum, which is provided by the core-image-minimal image.
Once you have everything configured to your liking, just run the following command:
bitbake core-image-minimal
The first time you build an image with bitbake, it will likely take many hours (my first build took around 5-6 hours). One big advantage of the Yocto Project is that it builds everything in stages and layers. If you make any changes (e.g. add a layer, change to a different image, tweak kernel settings), subsequent builds will take far less time. This speeds up development process when you are trying to add low-level support in Linux.
If you see any errors, read them carefully! Missing .h files probably means you’re missing a package, so find a way to install it (e.g. apt install). The great news is that the build process will pick up where it left off, so you won’t need to build from scratch again.
If you need to start over (e.g. you press ‘ctrl + c’ or something gets corrupted/tainted), you can run the following:
bitbake -c cleanall core-image-minimal
If you really want to clean out everything (because something still is not working after calling bitbake cleanall), you can simply delete the tmp folder in your build (e.g. build-mp1) folder:
rm -rf tmp
Once building is complete, you can find all of the output images in the deploy folder:
ls tmp/deploy/images/stm32mp1
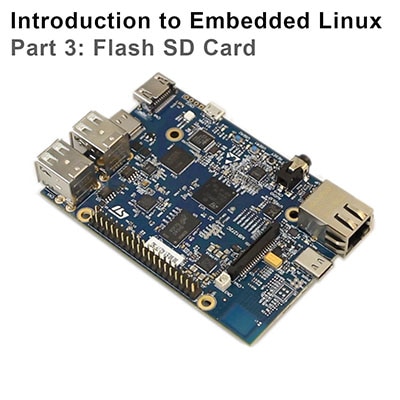
We will construct a bootable SD card using some of these image files in the next tutorial.
Recommended Reading
The following material should help you as you continue your embedded Linux journey:
Intro to Embedded Linux Part 4 - Create Custom Layer and Image in Yocto
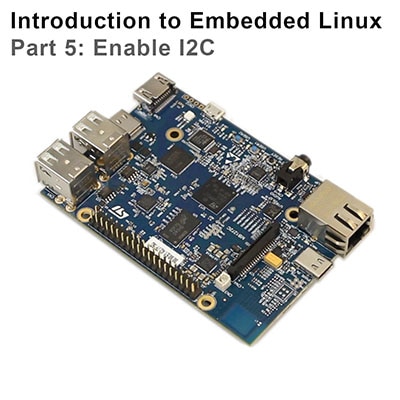
Intro to Embedded Linux Part 5 - How to Enable I2C in the Yocto Project
Intro to Embedded Linux Part 6 - Add Custom Application to Yocto Build
Intro to Embedded Linux Part 7 - Enable WiFi Networking with Yocto
ST has a great workshop series on the STM32MP1 where you can learn more about the hardware, drivers, Linux, etc.
Robert Nelson at Digi-Key maintains a great series of getting started guides with Yocto for various boards that you can view here.