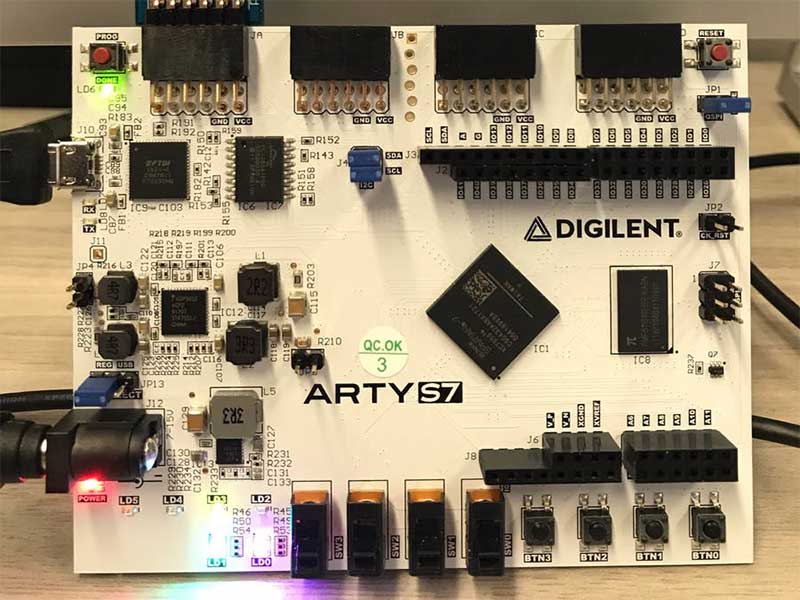
Xilinx Vivado Software Unleashing Design Potential Part-1
2024-08-19 | By DWARAKAN RAMANATHAN
Introduction:

Embark on an enlightening journey into the realm of digital design, where we unravel the intricacies of creating a Half Adder using the powerful Xilinx Vivado. This essential building block in digital circuits lays the foundation for more complex systems. With this step-by-step guide, you'll not only grasp the fundamental concepts but also navigate the user-friendly interface of Vivado with ease. Join us as we empower you to venture into FPGA design, unlocking the potential of digital logic in just a few clicks.
Note: Before going through this blog, I would recommend you to go through the Intel Quartus Prime Series by Clicking here
You can find the Xilinx Vivado Software here.

After Installing the software, open it. You will be directed to a page that looks something like this:

On Quick Start click on "Create Project".

Now, you will be asked to type the project name. Type "Half Adder", choose the specific location of your choice, and click "Next".
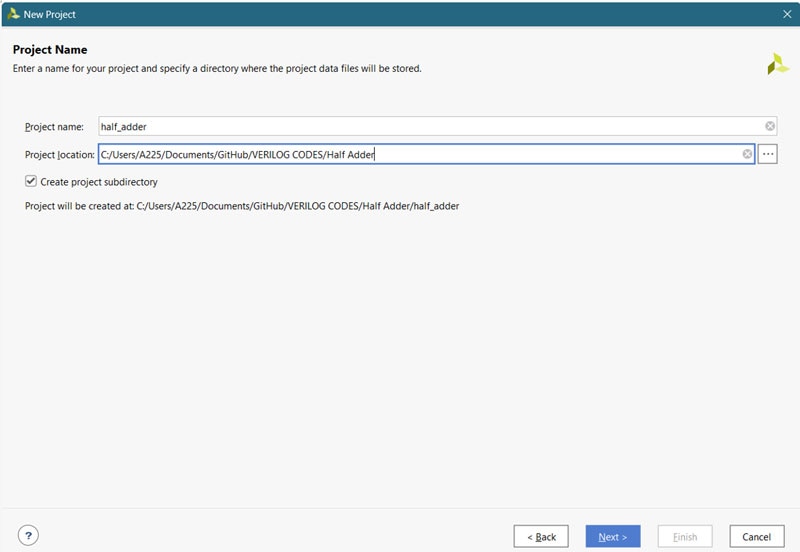
Select RTL project, which means Register Transfer Level Project. We will see the design in RTL Level. Click on "Next" once you have done that.

Click on add files and add the half_adder.v file. This is a text file with the Verilog code of the Half Adder. Copy the below code and paste it into a text file, then save the text file with the extension .v.
Copy Code
module half_adder(a,b,sum,carry);
input wire a,b;
output wire sum,carry;
assign sum=a^b;
assign carry=a&b;
endmodule
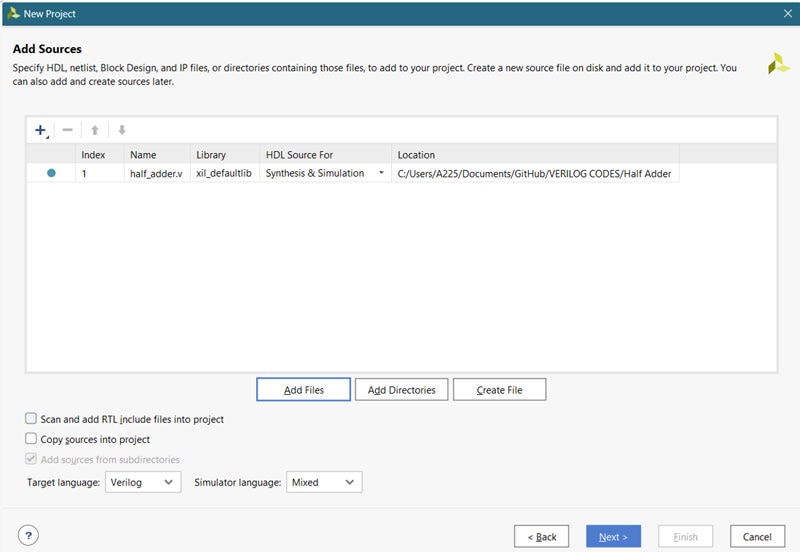
After adding the verilog file for the Half Adder, click "Next".
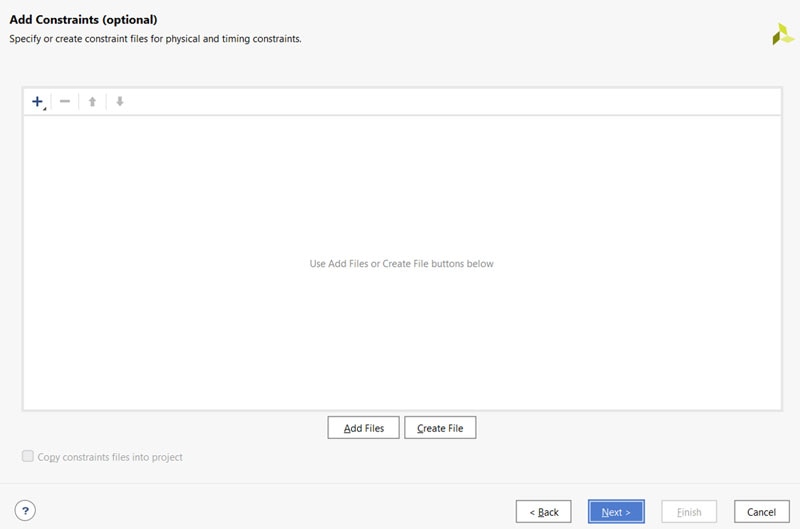
We do not have a constraints file so click on "Next". A constraints file is used in designing a processor or something huge like that.
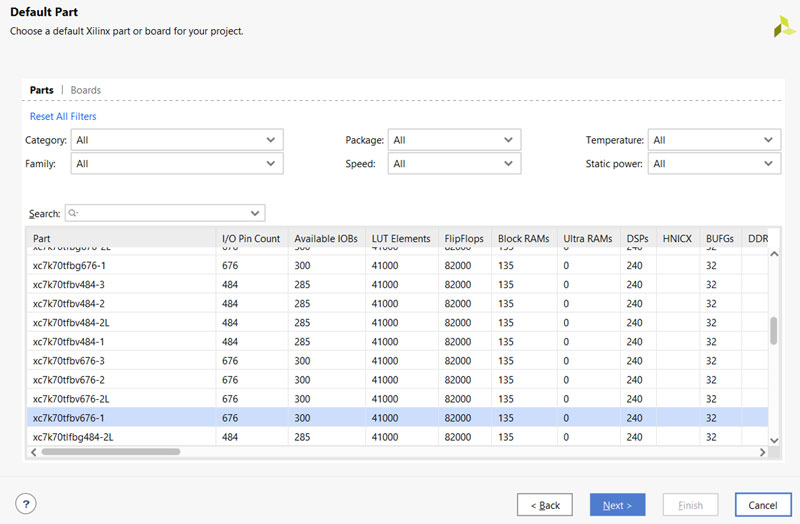
In this part, we have to select an appropriate device for our design. Since we have a minimalistic design, we will not need devices with multiple specialties, or you can select the device that you have in your hand so that you can upload the code and try working with it.

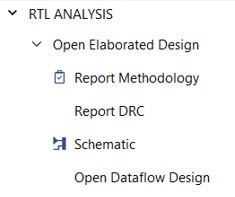
So, this is the main User Interface where you do everything possible. You can run simulations, synthesis, or implement a design on your device. For now, we are just going to create an RTL design so that you can visualize your half-adder in RTL. To do that, click on Open Elaborated Design and click on Schematic.
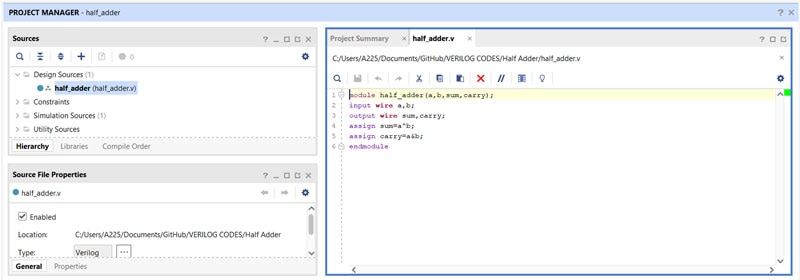
In advanced designs, you will have multiple files and will have one top-level file. Here, the half_adder.v is the top-level file.
The schematic will look something like this, a half-adder!!

Conclusion:
In this blog, we learned to use the Xilinx Vivado Software and created an RTL Design of a half adder. This software's ability is more than you think and has no limit. You can design a lot of combinational and sequential circuits with this software and can do lots of analysis based on the power consumption of your device, etc. Now, start working on different circuits, and we'll meet in the next part of this series!!
Have questions or comments? Continue the conversation on TechForum, DigiKey's online community and technical resource.


