How to use One micro:bit to Control Another
2018-07-19 | By Maker.io Staff
On their own, micro:bits are both entertaining and useful for prototyping. Adding another micro:bit makes it possible for you to start making wireless projects. In this how-to article, we show you how to control one micro:bit by using a second micro:bit wirelessly!
Things You Will Need
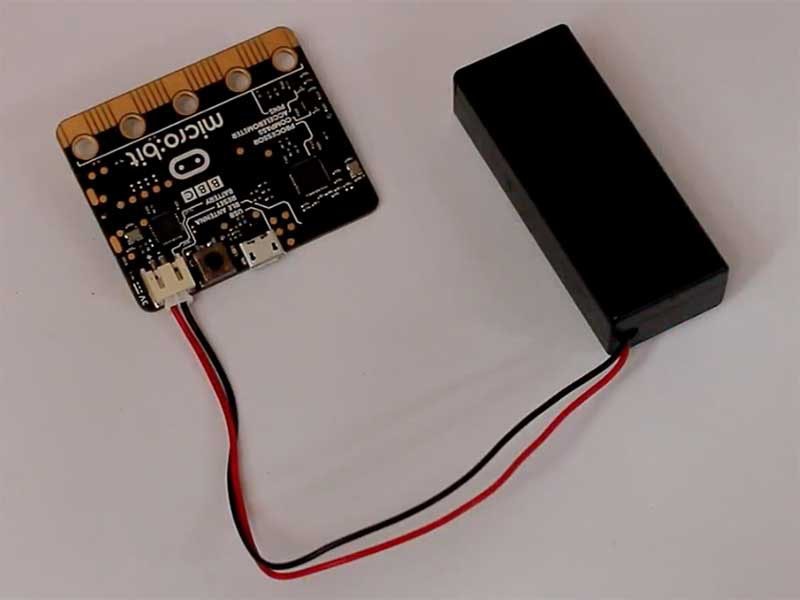
- 2 micro:bit Essentials Kits
- Computer running Windows, Linux, or OS X
micro:bit Bluetooth
As we learned from previous articles, the micro:bit contains a lot of interesting peripherals and is capable of just about anything. One peripheral in particular is the onboard Bluetooth that can be used for wireless communication. This wireless communication can be done with any other device that integrates Bluetooth, including phones, laptops, and other micro:bits.
So why use the radio module to wirelessly control a micro:bit? As it turns out, there are many different applications for radio including:
- Transmitting data such as temperature, pressure, etc
- Controlling a system remotely
- Sharing data between devices to process simultaneously (similar to cluster computing)
- Communication
Radio control can often be a difficult task because many aspects need to be understood, such as the method of sending packets, protocols, interference, and radio design. The designers of MakeCode have made using the radio peripheral incredibly trivial allowing us to utilize MakeCode to configure two micro:bits for radio communication!
Configuring Radio
The first step in radio communication is choosing a group to use. Groups can be thought of as rooms. You and other friends can stand in one room and talk to each other, but you can’t talk to anyone located in different rooms. If you want to talk to someone in a different room, you need to leave the room you are standing in and go into their room.
So let’s find the jigsaw piece that configures our group!

We put this code in the piece “on start” so that as soon as the micro:bit starts, it sets our group to 1. This means that we can talk and listen to any device who is also in group 1.
Sending Data
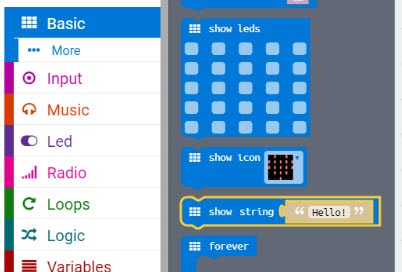
Sending data to devices connected to our group is done using a single jigsaw piece. However, there are different pieces we can choose and the one you need depends on what you’re sending.
If you are sending a number, you will need to use the piece “radio send number”. If you are sending a string (a word or sentence), then you need to use the piece “radio send string”. In our case, we will be sending the current temperature. Since temperature is a number we will use the piece “radio send number”.
When do we send this message? In this case, we are going to send the temperature when the user presses button A, so we start by using the piece “on button A pressed” and then placing the “radio send number” command inside this piece as shown below:

Receiving Data
Like sending data, receiving data is very easy to do with the piece “on radio received”. Just like sending data, you need to use the correct received data piece, because one is for numbers and the other is for strings.
Since we are transmitting temperature as a number we need our micro:bit to receive a number. When we receive the number, we can print it to the display so we can visually read the current temperature. Note that receiving data is an event, so it does not lie inside a forever loop nor is it connected to anything. As soon as data is received, the code connected to the received piece will immediately run.

The Code

https://makecode.microbit.org/_5THEa8RMj7Fy
Radio Buffers
As we can see here, pressing the A button on one micro:bit sends the temperature to another micro:bit. What would happen if we sent data again while the second micro:bit was still processing the first bit of data sent? As it turns out, the micro:bit has a buffer used to store incoming messages, meaning that even if the micro:bit is doing something else, the radio data is not lost. Test this out by pressing the A button three times quickly and you will see the temperature appear 3 times on the second micro:bit.