制造商零件编号 PIM565
SWITCH KEYPAD 16KEY CLICKY
Pimoroni Ltd
License: See Original Project
Courtesy of Pimoroni
Guide by Pimoroni
In this tutorial, we'll walk you through installing CircuitPython and our PMK library on some of our more macro pad friendly boards, as well as showing you where to find the CircuitPython libraries that you'll need.
If you buy a Keybow 2040 it will come with CircuitPython and libraries pre-installed, but you might find this guide useful if you want to upgrade to the latest versions, or if something goes wrong and you need to start from scratch.
What you'll need
or
These instructions will assume you have a Keybow 2040 - scroll down to the bottom for things you'll need to do differently if you have a RGB Keypad.
Downloading and Installing CircuitPython
We're using CircuitPython for our macro pad firmware as HID is not yet supported in MicroPython.
First of all, go to this page and download the most recent .uf2 file - this is a customised version of CircuitPython built especially for Keybow 2040.
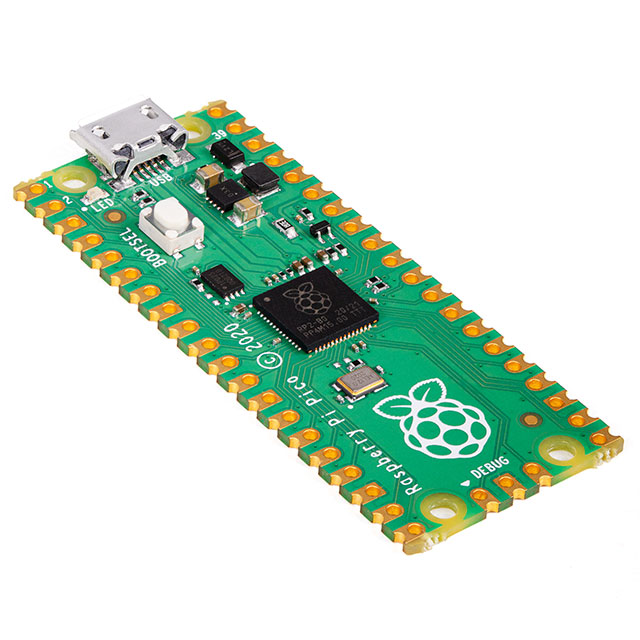
For the next bit, you'll need to locate the BOOTSEL button on your Keybow. You can find it to the right of the USB port, assuming your Keybow is oriented with keys pointing upwards and the USB-C port at the top edge.
Whilst holding down the BOOTSEL button, connect it to your computer with the USB-C cable or tap RESET (the other button) if it's already plugged in. It should show up as a drive called RPI-RP2 - it's now in bootloader/DFU mode. Copy the downloaded .uf2 file to this drive. After a few seconds it should show up as a drive named CIRCUITPY - it's now running CircuitPython!
This is what the CIRCUITPY drive looks like in Windows:
If you'd like to learn more about CircuitPython and how it works, there's a ton of information on the Adafruit site.
Downloading and Installing the Libraries
The next thing you'll need to do is download and install the libraries that Keybow uses. CircuitPython libraries are installed by copying files from your computer to the lib folder in the CIRCUITPY drive - super easy!
If you already have files in your lib folder, it's a good idea to delete them before you copy across the new ones, as having older versions of the libraries lurking around can cause problems.
First up is the Adafruit IS31FL3731 library - this is a driver for Keybow's LED matrix controller. The easiest way to get it is via the CircuitPython Library Bundle, which you can download from this page. Make sure you download the library bundle that matches your CircuitPython version!
Once you've unzipped the file, copy the adafruit_is31fl3731 folder from the bundle's lib folder across to the lib folder on your CIRCUITPY drive.
Next, you'll need to download our PMK library from GitHub (PMK stands for Pimoroni Mechanical/Mushy Keypad, if you're curious!). Click on the green 'Code' button at the top of the page and select 'Download ZIP' in the dropdown - this will download the whole library, complete with examples.
Unzip the file and copy the PMK folder into the lib folder on CIRCUITPY. The contents of the lib folder on your CIRCUITPY drive should now look something like this:
Running the examples
If you downloaded the whole PMK library as a zip file, you should already have a copy of our examples on your computer. They demonstrate a variety of interesting things you can do with your new macro pad.
To load an example onto Keybow, all you need to do is rename it to code.py and copy it to CIRCUITPY (or open up the example in a text editor and copy and paste the contents into code.py). Once it's saved, CircuitPython will automatically detect changes and start running the code. We'd suggest trying reactive-press.py or rainbow.py first as they don't require any additional libraries.
Some of the other examples need other libraries to be installed - the ones that set up Keybow 2040 as a USB keyboard will need adafruit_hid installing for example. You should be able to find any extra libraries that you need in the Adafruit bundle - copy them to the lib folder just as before.
You can find more documentation on how the PMK library works and how you can use it to create your own custom layouts on Github.
PMK on Pico RGB Keypad
Thanks to some excellent community contributions, you can now also run the PMK library on a Raspberry Pi Pico equipped with a nice, squishy Pico RGB Keypad! Setting it up is a similar process to the one described above, with the following tweaks:
Factory Reset
If you really heck things up and want to start completely from scratch this special .uf2 file will delete all the files stored in flash memory. Once you've downloaded the file, hold down BOOTSEL whilst plugging in your USB-C cable/tapping reset to get into bootloader mode, then copy the uf2 to the RPI-RP2 and let it reboot. You'll need to follow the steps above to reinstall everything again afterwards.
That's all folks!