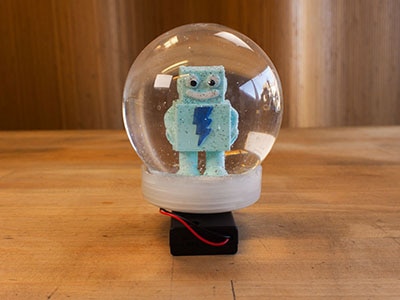
Lakeside Serenade
2025-04-30 | By Cheyenne Chua
License: See Original Project 3D Printing Adhesive
As Christmas nears, Swan Lake enchants audiences as a timeless winter favorite. Its "white acts" evoke serene, moonlit landscapes, where swan-like dancers mirror the grace of falling snow. This snow globe music box, named Lakeside Serenade, has sweeping melodies and delicate harmonies that capture the season's wonder and magic. Let’s grab some materials and create our very own Lakeside Serenade 🦢❄️
Materials Needed
Base of Snow Globe
Decorative Materials
Process 1: Create the base
Click Snow Globe Base_stl to download the Snow Globe base
Open the downloaded file in Bambu or Cura to slice the model
Adjust the 3D printer settings and print your base!
Process 2: Building Swan Model
Preheat the oven to 110°C
Separate 57g of clay into 4 pieces. There should be 1 big piece of clay and 3 equally small pieces of clay
Mold the bigger piece of clay into an aerodynamic shape. That will be the main body of the swan
Mold the 2 smaller pieces of clay into cylinders. The cross-section area of the cylinders is larger than the thickness
Mold the remaining piece of clay (one of the smaller pieces) into a swan head and neck
Assemble the pieces of clay into a swan figure, and adjust the features if necessary
Place the swan model on a baking tray placed with parchment paper and bake for 15 minutes
Once the swan finishes baking, let the model cool down to room temperature
Pour epoxy resin over the swan model and let it cure for 3-7 days so that the swan model is waterproof
Process 3: Creating “Snow foundation” for Swan
Plug in the hot glue gun and add glue stick
Add a layer of faux snow on the lid of the DIY Snow Globe, while leaving 0.2cm of space at the rim of the lid
Add the hot glue to stick the faux snow to the lid
Repeat steps 2 and 3 by layering, until the faux snow is 3cm high
Once the faux snow foundation is secure and the swan model is waterproof, hot glue the swan model onto the faux snow
Process 4: Assembly
Screw the manual music box onto the 3D-printed Snow Globe base
Twist the lid of the Snow Globe onto the DIY Snow Globe for testing
If the lid is secure, fill the DIY Snow Globe with water and 30ml of glycerin
Add as much glitter as you want! ☺️
Hot glue the outer rim of the Snow Globe lid and the rim of the 3D printed Snow Globe base to secure the Snow Globe
Shake away!! 🦢❄️✨
Closing thoughts
Congratulations! You’ve built an aesthetically pleasing and auditory snow globe to celebrate this holiday season. This project is a great way for you to learn 3D printing, the mechanism of a manual music box, and the material science behind the chosen items. Hope you enjoy this tutorial. 🦢❄️🎄