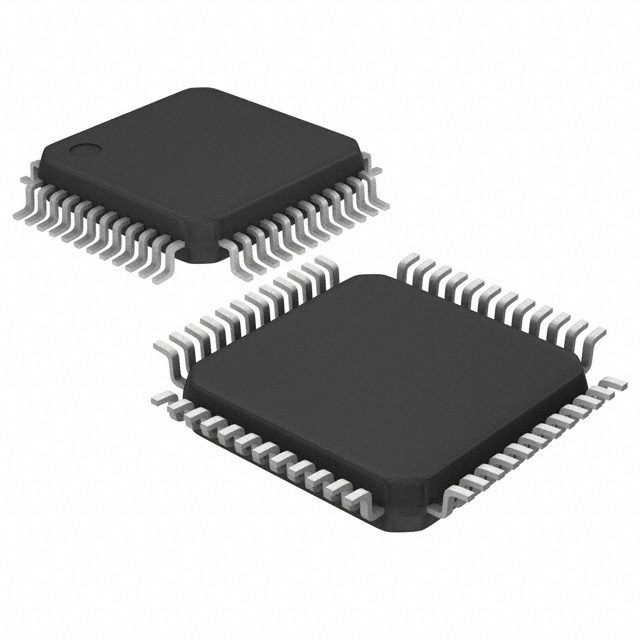
制造商零件编号 STM32F103C8T6
IC MCU 32BIT 64KB FLASH 48LQFP
STMicroelectronics
所订产品一般在 7-10个工作日 内送达中国,具体时间取决于收货地点。
最低订购金额为人民币 300 元,顺丰快递免运费配送。
当用人民币下单时,按照国际贸易条款 DDP(DigiKey 支付关税、海关费用和当地税款)方式结算。
电汇预付
![]()
![]()
![]()
更多来自全授权合作伙伴的产品
下单后,从合作伙伴发货平均需要时间 1-3 天,也可能产生额外运费。可能另外收取运费。 实际发货时间请留意产品详情页、购物车和结账页面上的说明。
国际贸易结算方式:CPT(交货时支付关税、海关费用和适用 VAT/应付税金)
有关详情,请访问帮助和支持
License: Attribution-Share Alike Metal Stock Arduino ARM mbed
This time I will show you how to make a sensitive Pulse Induction metal detector which is based on ARM STM32 microcontroller, which has significantly better features than Arduino and is also cheaper. It can detect a metal coin at a distance of 30cm, and big metal object at a distance of more than 80 cm.
The positive thing is that you can install an Arduino bootloader on it, after that you can use it as a regular Arduino. This is my first project with this microcontroller and the experiences are very positive, and after flashing the bootloader there is no difference between STM and Arduino.
This time I will focus more on the project itself, but for how to install bootloader and sketch on STM32 you can find many tutorials and instructions, *** and I specifically used the tutorial from: https://www.instructables.com/Using-a-STM32-Like-an-Arduino-Tutorial-STM32F103C8/ The project is taken from the cxem.net site, in that there is a small error in the given schematic, and instead of the B9 pin, B8 should be used. I have corrected that in the schemаtic diagram given below. Also, the original project uses STM32F103C8, but the metal detector works quite fine with STM32F103C6, which is a cheaper version of the original.
So, the device is relatively simple to make and consists of the following components:
I made this device for testing purposes on a universal PCB.
As a power source, I use three Li-Ion cells connected in series (about 12V), and 7805 regulator for powering microcontroller.
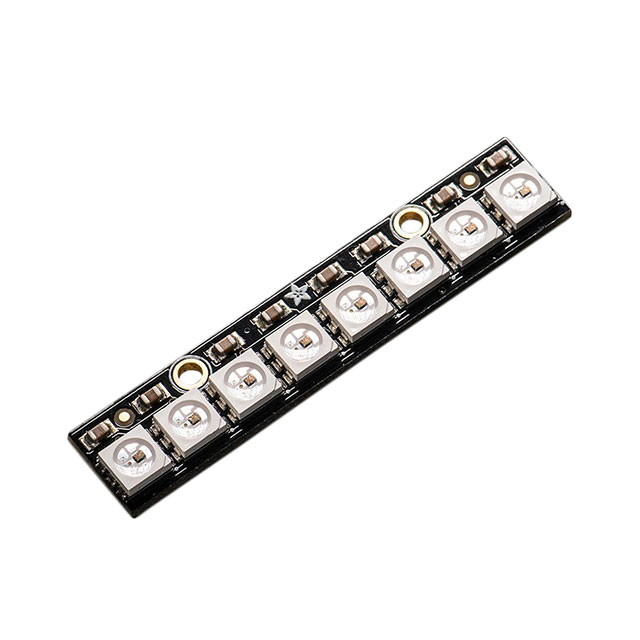
The indication is made on a WS2812B module of eight LEDs and a buzzer. The control is carried out using the rotary encoder. When the power is turned on, the search coil must be moved away from metal objects, as the sensitivity is automatically adjusted.
Further, the sensitivity of the metal detector is adjusted manually by rotating the encoder knob. There is also a menu mode. The first press on the encoder knob enters the LED brightness adjustment mode. Second press, buzzer on/off mode. Third press, targe detection depth adjustment mode. The fourth press, we enter the adjustment mode for large or small objects. The fifth press, exit the menu mode and auto-adjust the sensitivity.
The coil is wound with wire 0.7 mm, with a 20 cm diameter, and consist of 25 turns, but as you can see, during the testing I used a sensor consisting of two serially connected coils with a diameter of 12 and 23 cm, each containing 20 windings.
It is very important to mention that when the device is switched on, it is automatically calibrated, so there must not be any metal objects near the coil at that time. On the video you can see how the device works in real conditions in the air, and a brief description of the method of manufacturing the metal detector.

谢谢!
敬请关注收件箱中的 DigiKey 新闻与更新!
请输入电子邮件地址


